From paver patios to custom fire features, these seven hardscaping upgrades turn underutilized yards into outdoor spaces you'll actually use year-round.
Share:
Summary:
A patio isn’t just a place to put furniture. It’s the base layer that defines how you use your outdoor space. Without a proper patio, you’re limited to standing on grass or dealing with concrete that cracks, stains, and looks dated within a few years.
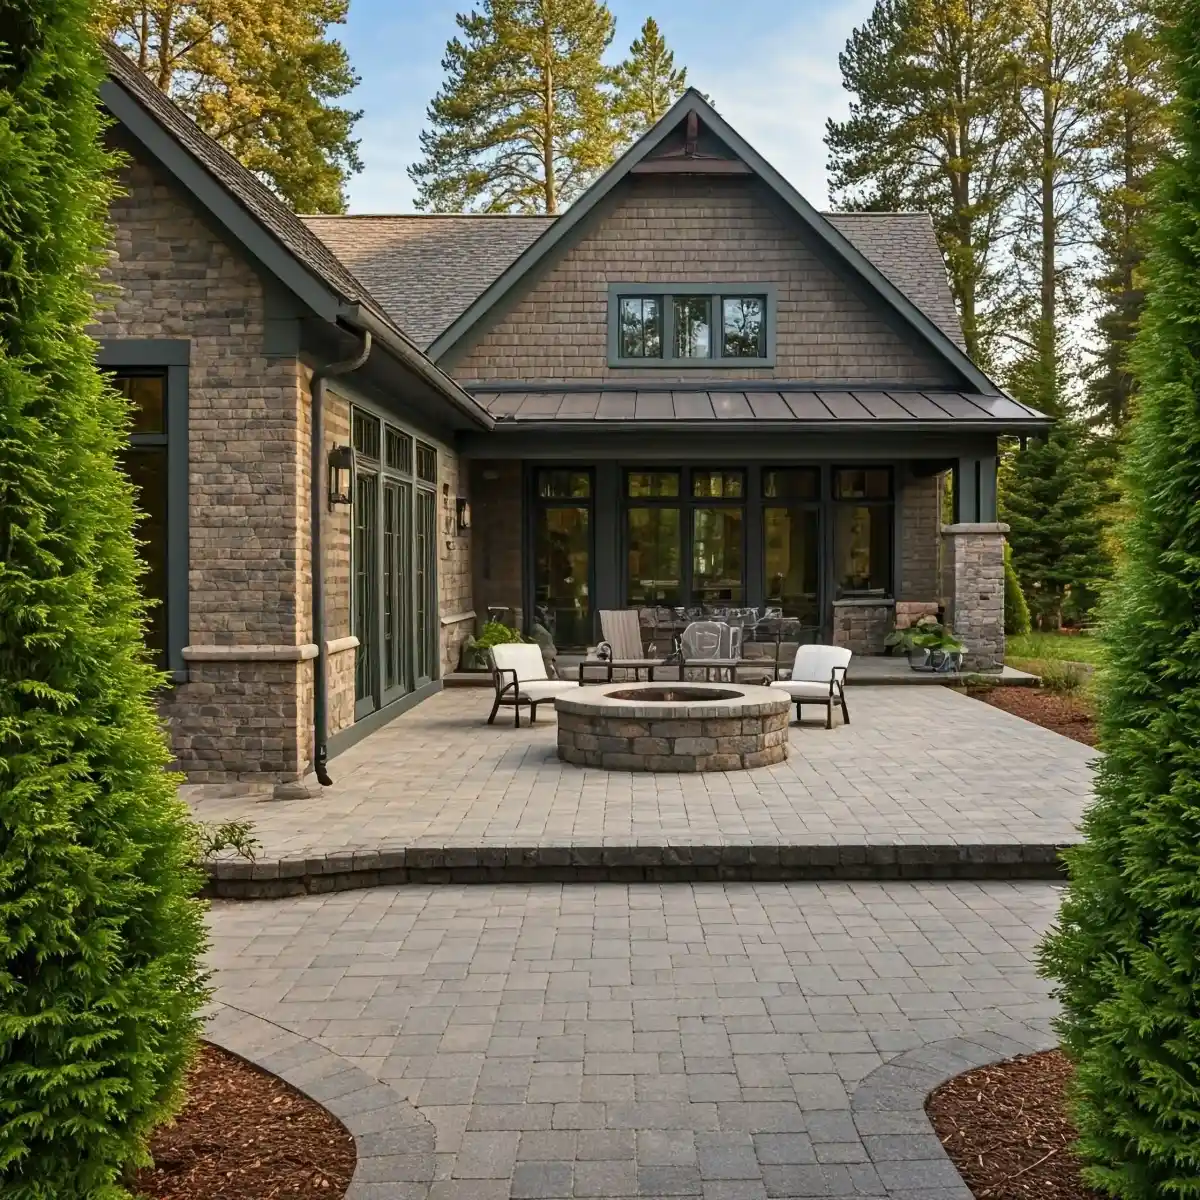
Paver patios solve multiple problems at once. They handle Florida’s weather better than poured concrete because individual pavers can shift slightly with ground movement without cracking. They drain properly when installed with the right base and grading. And they stay cooler underfoot when you choose materials like travertine or lighter-colored concrete pavers.
In Homosassa Springs, where afternoon storms are predictable from May through October, proper drainage isn’t optional. A well-installed paver patio is engineered to shed water away from your home’s foundation while creating a stable, level surface that lasts decades.
The installation process determines whether your patio lasts five years or fifty. It starts below the surface, not with the pavers you see.
First, the area gets excavated to the proper depth—typically 8 to 12 inches depending on soil conditions and intended use. In Citrus County’s sandy soil, this excavation allows for a compacted base that won’t shift over time. A layer of crushed stone or gravel goes down first, compacted in lifts to create stability. This base layer is what prevents settling and provides the drainage path for rainwater.
Next comes a layer of bedding sand, screeded perfectly level. This is where precision matters. Even small variations in this layer translate to uneven pavers and poor drainage. The pavers themselves get set in a specific pattern—herringbone for high-traffic areas, running bond for a cleaner look, or custom patterns that match your home’s architecture.
Edge restraints go in around the perimeter to prevent the pavers from spreading outward over time. Then comes joint sand, swept into the gaps between pavers and compacted. For added protection against weeds and sand washout, polymeric sand creates a harder joint that still allows for minor movement.
The final step involves sealing, which protects against staining, UV damage, and helps the pavers resist Florida’s intense sun. This isn’t a weekend DIY project. Each step requires specific equipment, experience reading drainage patterns, and understanding how materials perform in humid, subtropical conditions. When done right, you get a patio that handles pool splashes, summer storms, and daily use without showing its age.
Not all pavers perform the same in Florida’s climate. Some materials absorb heat and become too hot to walk on barefoot by mid-afternoon. Others handle the humidity and temperature swings better.
Travertine pavers are a top choice for Florida homeowners because they stay significantly cooler than darker alternatives. The natural stone’s light color reflects rather than absorbs heat. You can walk on travertine pavers in July without burning your feet. They also resist cracking from temperature changes and don’t show wear as obviously as some concrete options.
Concrete pavers offer the widest range of colors, textures, and price points. Modern manufacturing has improved their durability significantly. When properly sealed, they resist staining from pool chemicals, mildew, and the tannins that leach from oak trees common in Citrus County. The key is choosing lighter tones and getting them sealed within the first year of installation.
Brick pavers bring a classic look but require more maintenance in humid climates. They can develop efflorescence—that white, powdery residue that appears when salts migrate to the surface. They’re still a viable option if you prefer that aesthetic, but expect to clean and seal them more frequently.
Clay pavers are less common but extremely durable. They handle freeze-thaw cycles better than needed in Florida, which means they’re overbuilt for our climate—not a bad thing. Their natural color won’t fade, though they typically come in earth tones only.
The thickness matters too. Standard patios use pavers that are 2 3/8 inches thick. If you’re building a driveway or area that will see vehicle traffic, you need pavers at least 3 1/8 inches thick. Thinner pavers will crack under that load regardless of material. Size also affects the look—larger format pavers create a more modern, streamlined appearance, while smaller pavers offer more pattern flexibility and a traditional feel.
Want live answers?
Connect with a MainStreet Landscaping expert for fast, friendly support.
An outdoor kitchen isn’t about showing off. It’s about making it easier to cook outside so you actually do it. When your only option is dragging a portable grill across the lawn and running inside every time you need a utensil, outdoor cooking feels like more work than it’s worth.
A built-in outdoor kitchen changes the equation. You have counter space for prep work. Storage for tools and supplies. A sink for cleanup. Maybe a refrigerator so you’re not making ten trips to the house. Suddenly, cooking outside becomes the easier option, especially during summer when heating up your indoor kitchen makes the AC work overtime.
Fire features—whether a built-in fire pit or a full outdoor fireplace—extend your outdoor season. Even in Florida, winter evenings get cool enough that a fire makes the space comfortable. More importantly, fire creates a natural gathering point. People gravitate toward it.
The most functional outdoor kitchens follow the same work triangle principle as indoor kitchens: grill, prep area, and serving space positioned for efficient movement. But outdoor kitchens also need to account for weather, ventilation, and the fact that you’re often cooking for a crowd.
Start with the grill as your anchor point. Built-in grills offer more cooking surface and better heat retention than portable units. They’re also more durable—stainless steel construction holds up to humidity and salt air better than painted steel. Position the grill where prevailing winds blow smoke away from seating areas, typically with the grill facing north or east in Homosassa Springs.
Counter space is non-negotiable. You need at least 24 inches on either side of the grill for plating and prep. Granite or concrete countertops handle heat, moisture, and outdoor conditions without warping or staining. Tile can work but requires more maintenance to keep grout clean in humid conditions.
Storage underneath keeps tools, propane tanks, and supplies protected from weather. Marine-grade stainless steel cabinets resist rust better than standard outdoor cabinetry. Include at least one cabinet with a door that seals well to keep moisture out of stored items.
A sink adds convenience but requires running water lines and drainage. If your outdoor kitchen is far from the house, this becomes a more complex project requiring professional plumbing. Some homeowners opt for a large basin with a garden hose connection as a simpler alternative.
Refrigeration is where outdoor kitchens go from nice to exceptional. An outdoor-rated refrigerator or beverage cooler means fewer trips inside. These units are built to handle temperature fluctuations and humidity that would destroy a standard fridge.
Lighting matters more than most people plan for. You need task lighting over the grill and prep areas—LED strips under cabinets work well. Ambient lighting around the kitchen creates atmosphere but shouldn’t create glare. And don’t forget electrical outlets, ideally on a GFCI circuit for safety around water.
The base and structure need to be built on a proper foundation, typically a concrete footer or a reinforced paver base. This isn’t something you can set directly on grass or sand. The structure needs to support the weight of stone countertops, a heavy grill, and the lateral forces from opening cabinet doors and drawers. Cutting corners on the foundation leads to settling, cracking, and eventual failure of the entire kitchen.
Fire pits in Florida serve a different purpose than they do up north. You’re not battling freezing temperatures. Instead, you’re creating ambiance and extending comfortable outdoor time during the cooler months from November through March.
Built-in fire pits offer more design flexibility than portable fire bowls. They can be round, square, or custom-shaped to fit your patio layout. Most are built using the same paver materials as your patio, creating visual continuity. The fire pit itself is typically a steel ring insert that protects the pavers from direct heat.
Gas fire pits are increasingly popular because they’re cleaner and easier to control than wood-burning options. You get instant flame at the flip of a switch, and there’s no smoke to bother guests or neighbors. The gas line runs underground from your home’s gas supply or from a dedicated propane tank. This requires professional installation but eliminates the hassle of buying and storing firewood.
Wood-burning fire pits offer that authentic campfire experience—the smell, the crackle, the ritual of building and tending a fire. They require more maintenance and produce smoke, which can be an issue depending on your lot size and proximity to neighbors. Local ordinances in Citrus County may have restrictions on wood-burning fires, so check before committing to this option.
Size matters for functionality. A fire pit that’s too small doesn’t provide enough warmth or visual impact. Too large, and it overwhelms the space and uses excessive fuel. Most residential fire pits range from 36 to 48 inches in diameter for wood-burning designs, or 24 to 36 inches for gas versions. The seating area around the fire pit should allow for 6 to 8 feet of clearance—close enough to feel the warmth, far enough to be comfortable.
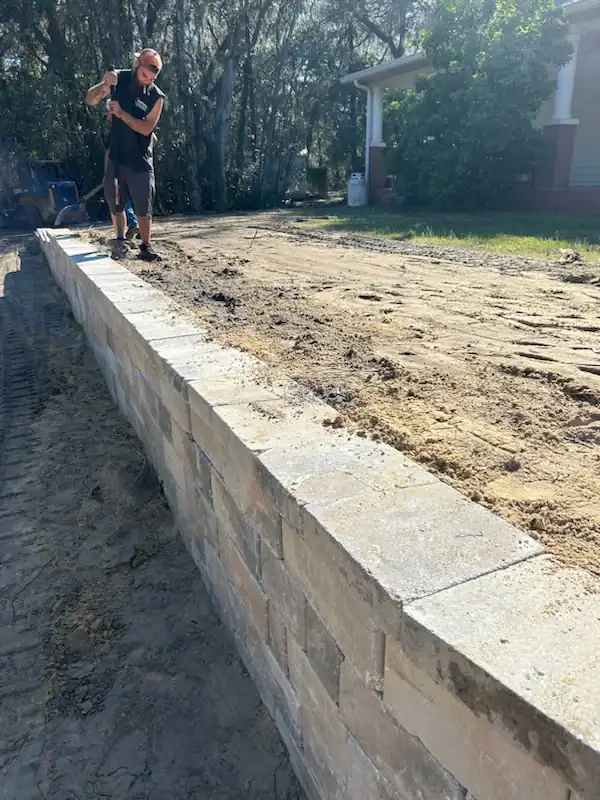
Seating can be built into the design using seat walls—low retaining walls capped with smooth stone that doubles as bench seating. This eliminates the need for outdoor furniture around the fire pit and creates a cleaner, more permanent look. Add cushions for comfort, but choose outdoor-rated fabrics that resist mildew.
Safety features include proper clearance from structures (typically 10 feet minimum from your home or other buildings), a non-combustible base extending at least 12 inches beyond the fire pit perimeter, and easy access to a way to extinguish the fire. For gas fire pits, an accessible shutoff valve is essential.
The hardscaping features that make sense for your backyard depend on how you actually use the space, not just what looks impressive. A massive outdoor kitchen doesn’t add value if you rarely entertain. A fire pit you’ll use twice a year isn’t worth the investment. Start with the features that solve your biggest pain points—whether that’s creating a stable patio for furniture, adding walkways that don’t turn into mud paths, or building retaining walls that prevent erosion.
The installation quality matters more than the feature itself. Poorly installed pavers will shift and settle. Improperly graded patios will pool water. Outdoor kitchens built without proper foundations will crack and fail. Working with experienced contractors who understand Florida’s climate, soil conditions, and drainage requirements is what separates projects that last from those that need repair within a few years.
For homeowners in Homosassa Springs looking to upgrade their outdoor spaces with quality hardscaping, we’ve been creating durable, functional outdoor living areas since 1995. As authorized contractors for Tremron, Flagstone, and Belgard, we bring both the expertise and the manufacturer backing that ensures your investment is protected.
Article details:
Share:
Continue learning: