Your faded pavers don't need replacement. Professional restoration brings back vibrant colors and that wet look finish while protecting your investment from Florida's brutal climate.
Share:
Summary:
Your pavers looked incredible when they were first installed. Rich colors. Clean lines. A finished look that made your property stand out.
Now they’re faded. Stained. Maybe weeds are pushing through the joints, or the whole surface just looks tired no matter how often you clean it. You’re wondering if replacement is the only option—and dreading what that’ll cost.
Here’s what most homeowners don’t realize: restoration brings back that original beauty for a fraction of replacement cost, and a proper paver sealing afterward is what keeps it looking that way. The process isn’t complicated, but it does require the right approach for Florida’s climate. Let’s walk through what actually works.
North Central Florida’s climate is uniquely brutal on hardscapes. It’s not just one factor—it’s the combination that accelerates deterioration.
UV exposure is relentless here. With 230+ days of sunshine annually, the sun’s rays break down the color pigments in your pavers’ surface. What starts as subtle fading becomes a washed-out, gray appearance that makes your entire property look neglected.
Then there’s the humidity. Citrus County sits in a moisture-heavy zone where algae, mold, and mildew thrive. These organisms don’t just create ugly stains—they make surfaces slippery and dangerous. And once they take hold in unsealed pavers, they’re nearly impossible to eliminate with regular cleaning.
Heavy rainfall compounds the problem. When afternoon thunderstorms dump inches of rain in minutes, that water washes away the joint sand that keeps your pavers stable and interlocked. Without that sand, pavers shift, sink, and create uneven surfaces where water pools and accelerates damage.
Unsealed pavers are porous. They absorb everything that lands on them—oil from vehicles, rust from irrigation water, tannins from leaves, even the minerals in rainwater.
These contaminants penetrate deep into the paver’s surface. A quick rinse won’t touch them. Even pressure washing often just spreads the stain around rather than removing it. You end up with permanent-looking marks that make your driveway or patio look dirty no matter how much you clean.
The joint sand situation gets worse with every storm. As sand erodes, gaps widen between pavers. Weeds find their way in. Ants build colonies. Water penetrates underneath the surface, undermining the base that everything sits on.
Without the stabilizing effect of joint sand, pavers lose their structural integrity. They start to shift with foot traffic or vehicle weight. Some sink lower than others, creating trip hazards and uneven surfaces. What began as a cosmetic issue becomes a safety problem and a structural concern.
Citrus County’s sandy soil makes this worse. The ground composition here means water moves through the base layer differently than in other regions. Proper patio paver installation requires deeper excavation—6 to 12 inches—with compacted base material. When joint sand washes away, that carefully prepared foundation starts to fail.
The color fading you see on the surface is actually the least of your problems. It’s a visible symptom of a larger issue: your pavers have lost their protective barrier. They’re exposed to every element, absorbing damage daily, and deteriorating faster than they should.
Most homeowners wait too long to address this. They assume fading is cosmetic and not worth the expense of professional restoration. By the time they realize the structural implications, simple restoration has become complicated repair. The pavers that could have been saved with cleaning and paver sealing now need releveling, base repair, or even replacement in sections.
The good news? If you’re catching this before major structural damage occurs, restoration brings everything back. The process reverses the visible deterioration and prevents future damage. You’re not just making pavers look better—you’re extending their functional lifespan by decades.
You don’t need to be an expert to recognize when pavers need attention. The warning signs are obvious once you know what to look for.
Start with a simple water test. Pour a cup of water on your pavers and watch what happens. If the water beads up and rolls off, your sealer is still working. If it soaks in immediately, leaving a dark wet spot, your protective barrier is gone. That absorption means your pavers are vulnerable to everything—stains, moisture damage, and accelerated deterioration.
Color fading is the most visible indicator. Compare your pavers to a section that stays covered, like the area under a heavy planter or doormat. If the exposed areas look significantly duller or grayer, UV damage has broken down the surface. This isn’t just aesthetic—it means the top layer of your pavers is compromised.
Check your joint sand. Walk your hardscape and look at the gaps between pavers. If you see sand loss in more than 10-15% of the joints, or if weeds are sprouting in multiple areas, the stabilizing bond has failed. Deep gaps mean pavers can shift. Weed growth means moisture and seeds are penetrating where they shouldn’t.
Surface texture tells you a lot. Run your hand across your pavers. They should feel relatively smooth and uniform. If they feel rough, pitted, or like the surface is breaking down, you’re seeing erosion. This texture change means the paver material itself is degrading, not just the color.
Stains that won’t come out are a red flag. Oil spots from vehicles, rust marks from irrigation, dark streaks from organic debris—if these persist after cleaning, they’ve penetrated below the surface. Sealed pavers resist this absorption. Unsealed pavers soak it in permanently.
Algae and mold growth accelerates in Florida’s humidity. If you’re seeing green or black patches, especially in shaded areas or near water features, organic growth has taken hold. This creates slippery surfaces and indicates that moisture is penetrating the pavers rather than being repelled.
Efflorescence is another warning sign. These white, powdery deposits appear when moisture moves through the pavers, carrying minerals to the surface. It looks like someone spilled salt or powder on your hardscape. This means water is moving freely through the material, which shouldn’t happen with properly sealed pavers.
Uneven surfaces or shifting pavers indicate structural issues. If you notice pavers that sit lower than their neighbors, or if you can feel movement when you walk on certain sections, the base is compromising. This often starts with joint sand loss and escalates when water penetrates underneath.
The timeline for these issues varies, but Florida’s climate accelerates everything. What might take 5-7 years in other regions happens in 2-3 years here in North Central Florida. If your pavers are more than three years old and have never been sealed, or if it’s been more than three years since the last sealing, you’re overdue for restoration.
Want live answers?
Connect with a MainStreet Landscaping expert for fast, friendly support.
Professional paver restoration isn’t just pressure washing and slapping on some sealer. It’s a multi-step process where each phase matters.
The work typically happens over two days. Day one focuses on cleaning, stain treatment, and preparation. Day two handles re-sanding and paver sealing, once everything has dried completely. Rushing this timeline compromises results.
Deep cleaning comes first. This involves pressure washing with the right equipment—not the consumer-grade unit from a hardware store, but professional surface cleaners designed specifically for pavers. The technique matters as much as the equipment. Too much pressure damages the surface. Too little leaves contamination behind.
Chemical pre-treatment makes the difference between surface cleaning and deep restoration. Specialized cleaning agents break down organic growth, lift stains, and prepare the surface for sealer adhesion. Different stains require different treatments—what works for algae doesn’t work for oil or rust.
The cleaning phase determines everything that follows. If the surface isn’t properly prepared, the sealer won’t bond correctly, and you’ll be redoing the work in a year.
Pre-treatment starts before any water hits the pavers. For organic growth like algae, mold, and mildew, a sodium hypochlorite solution with surfactant gets applied to the entire surface. This needs 5-10 minutes to penetrate and break down the growth at its root level. Skipping this step means you’re just cleaning the surface while leaving the organism alive underneath.
Oil stains require dedicated degreasers. These aren’t the same products used for organic growth. Professional-grade degreasers are formulated to break down petroleum-based contaminants that have penetrated the porous paver surface. The product needs time to work—rushing through this phase leaves stains behind.
Rust removal is common in North Central Florida, especially with well water irrigation. Iron in the water creates orange-brown stains that look permanent. Specialized rust removers containing oxalic acid or other chelating agents can lift these stains, but the application technique matters. Too aggressive and you damage the paver surface. Too gentle and the stain remains.
Efflorescence and calcium deposits require acidic cleaners. These white, chalky buildups come from minerals in the pavers or base material migrating to the surface with moisture. The right cleaner dissolves these deposits without etching the paver surface. This is where professional knowledge prevents damage—using the wrong acid concentration or leaving it on too long can permanently discolor pavers.
Pressure washing follows chemical treatment. The cleaning solution has done the heavy lifting, breaking down contamination. Now the pressure washer removes the loosened material. A surface cleaner attachment provides even coverage without leaving stripes or wand marks. The goal is uniform cleaning across the entire hardscape.
Joint sand removal happens during this phase. Old, degraded sand gets flushed out with the cleaning process. This isn’t a problem—it’s necessary. That old sand has lost its binding properties and needs replacement anyway. Trying to preserve it means you’re building on a compromised foundation.
Edge work requires attention. The perimeter of your hardscape, where pavers meet grass or other surfaces, tends to accumulate more organic growth and debris. Hand tools and detail work ensure these areas get as clean as the main surface. Overlooking edges creates an obvious quality difference in the finished product.
The drying period is non-negotiable. Pavers must be completely dry before sealing—not just surface dry, but dry throughout. In Florida’s humidity, this typically means 24-48 hours. Trying to seal damp pavers causes hazing, blushing, or complete sealer failure. You’ll see a milky white appearance that’s nearly impossible to fix without stripping and starting over.
Weather monitoring becomes critical during restoration. Afternoon thunderstorms are predictable in summer months, but timing varies. We schedule around forecasts, sometimes splitting the process across non-consecutive days to ensure proper drying. A surprise rain shower between cleaning and sealing doesn’t ruin the work, but it does extend the timeline.
Once pavers are clean and dry, re-sanding stabilizes the surface and prepares it for paver sealing. This step gets skipped by inexperienced contractors, and it shows in the results.
Joint sand selection matters more than most homeowners realize. Standard mason sand is cheap but washes out quickly. Polymeric sand contains additives that harden when activated with water, creating a more stable joint. Premium silica sands offer a middle ground—better than basic sand, more forgiving than polymeric. The choice depends on your specific situation, climate exposure, and traffic patterns.
The re-sanding technique affects how well the sand stays in place. Dry sweeping works for some applications, but wet sanding—also called hydro-compaction—provides better results for restoration work. Sand gets swept into joints, then lightly misted with water to help it settle to the lowest points. This fills gaps completely rather than leaving voids that will settle later.
Sand level is precise. It should sit approximately 1/8 inch below the paver surface. Too high and the sealer pools in joints, creating shiny spots and uneven finish. Too low and you don’t get adequate joint stabilization. Professional installers use this measurement consistently across the entire surface.
Excess sand removal comes next. A leaf blower clears the paver surface completely. Any sand left on top will get sealed in place, creating a rough, unprofessional appearance. This seems like a minor detail, but it’s the difference between work that looks professional and work that looks rushed.
Sealer selection depends on your desired finish and Florida’s climate requirements. Water-based sealers are breathable, allowing moisture to escape rather than trapping it underneath. This is critical in humid environments. Solvent-based sealers provide a more dramatic wet look but can cause problems in high humidity—that milky white hazing you sometimes see on sealed pavers comes from trapped moisture.
Two-part urethane sealers offer the best durability and wet look finish. They cost more and require mixing, but the results last longer and look better. Single-component acrylic sealers are more economical and easier to apply, but they don’t provide the same depth of color enhancement or longevity. Products like Seal ‘n Lock are specifically formulated for Florida’s climate, providing that rich wet look appearance while standing up to humidity and UV exposure.
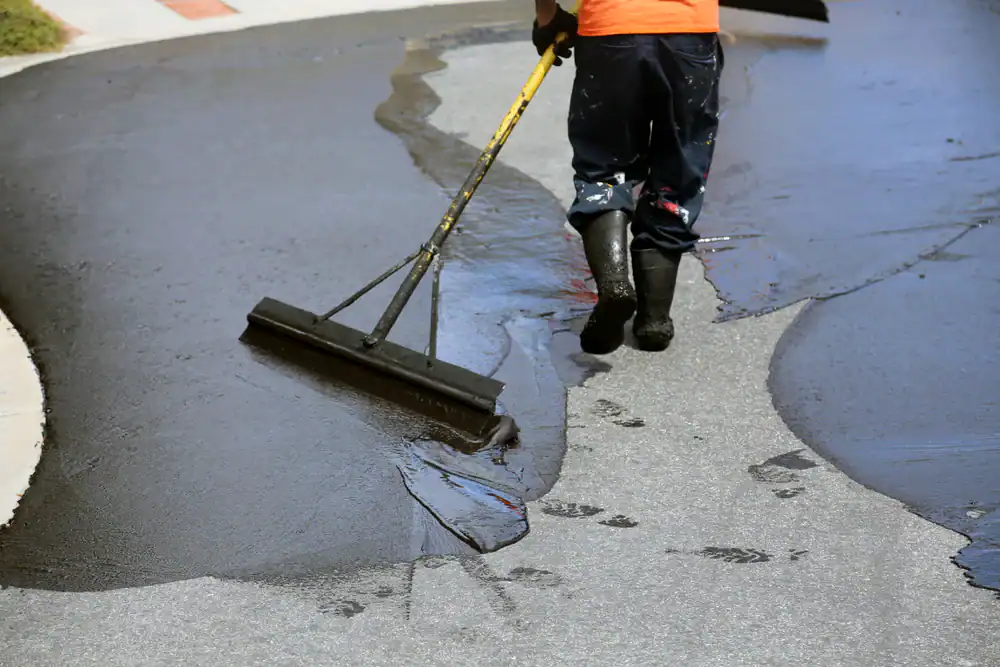
Application technique determines the final appearance. Spraying provides even coverage and allows sealer to penetrate joints effectively. Rolling can work but requires more skill to avoid pulling sand from joints or creating visible roller marks. We typically spray, working in sections to maintain a wet edge and prevent lap marks.
Multiple coats are standard. The first coat penetrates and provides base protection. The second coat builds depth and enhances color. Some applications benefit from a third coat, especially in high-traffic areas or where maximum color enhancement is desired. Each coat needs adequate drying time before the next application.
Curing time protects your investment. Even though the sealer may look dry to the touch after a few hours, full cure takes longer. Foot traffic is typically safe after 24 hours. Vehicle traffic should wait 48-72 hours. Using the surface too soon can damage the sealer before it’s fully hardened, creating marks, scuffs, or uneven wear patterns.
Temperature and humidity during application affect results. The ideal range is 50-90°F with humidity below 70%. Florida’s summer conditions push these limits, which is why professional-grade products formulated for humid climates perform better. Cheaper sealers designed for dry climates fail quickly here in North Central Florida.
The wet look finish that most homeowners want comes from how the sealer enhances paver colors. It’s not a coating that sits on top—it’s a penetrating sealer that enriches the natural tones of the pavers while creating a protective barrier. The “wet” appearance mimics how pavers look right after rain, with deeper, more vibrant colors than the dry, faded appearance of unsealed pavers.
Restoration brings your pavers back to life, but it’s not a one-time fix. Florida’s climate means you’ll need resealing every 2-3 years to maintain protection and appearance.
That timeline is shorter than other regions, but it’s the reality of living where sun, humidity, and storms are constant. The good news is that ongoing maintenance is far less involved than initial restoration. If you keep up with resealing, you’re preventing the deep staining and structural issues that make restoration complicated.
Between sealing cycles, basic maintenance extends your results. Sweep debris regularly. Rinse spills promptly. Address weed growth early before it becomes established. These simple habits make a measurable difference in how long your paver sealing lasts.
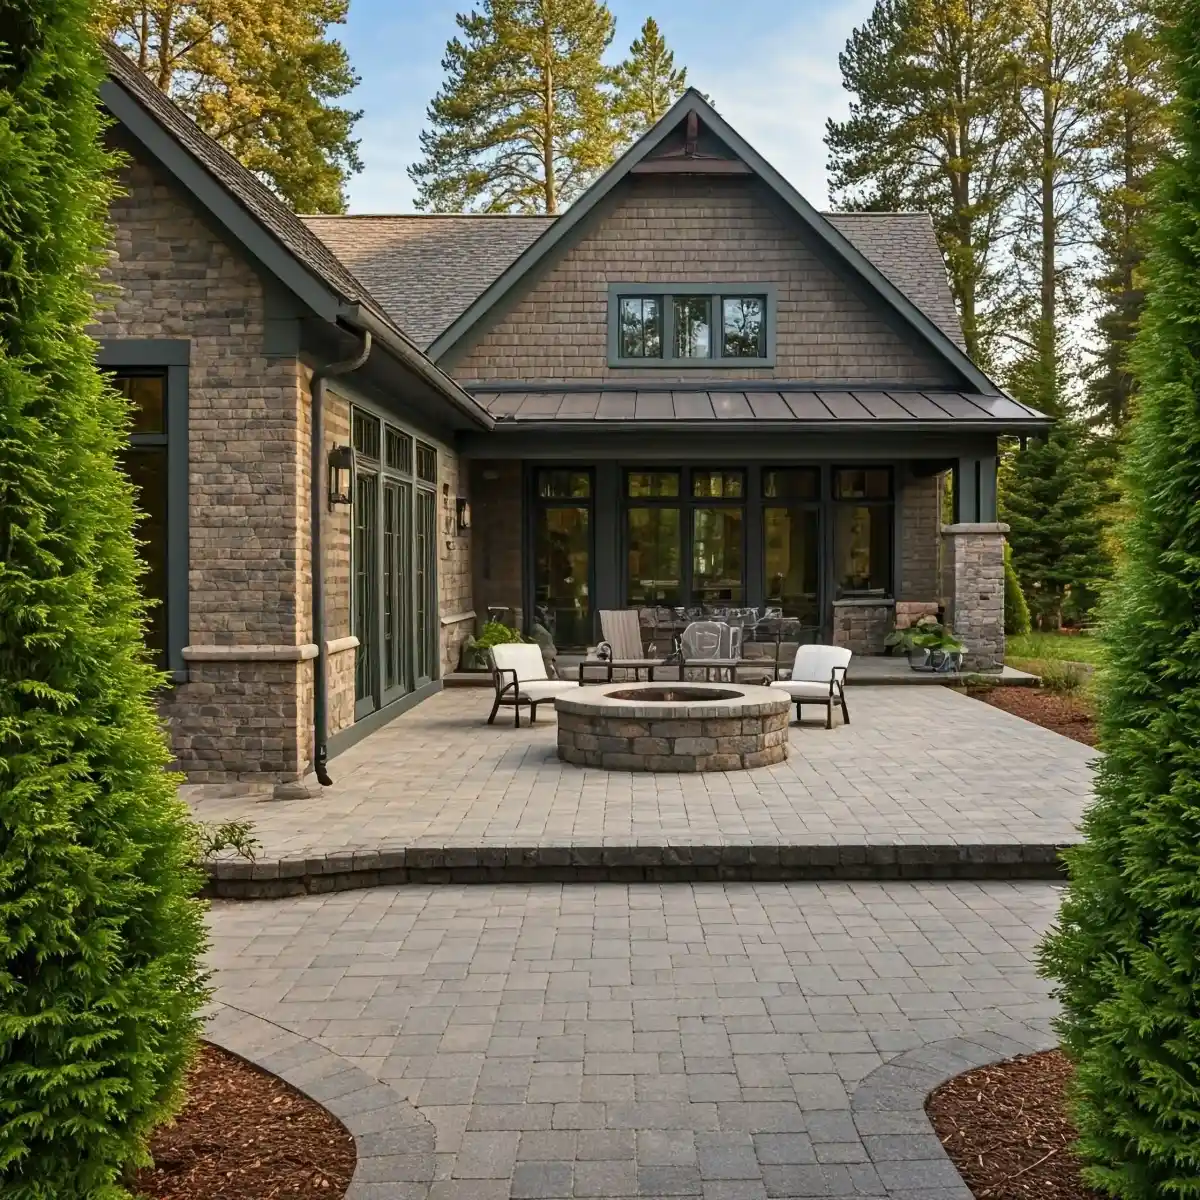
Your pavers represent a significant investment in your property—whether it’s driveway pavers, patio paver installation, or pool deck pavers. Restoration protects that investment for a fraction of what replacement would cost. When you work with contractors who understand North Central Florida’s unique challenges, you get results that last. We’ve been restoring and protecting hardscapes in Citrus County since 1995, bringing that wet look finish back to driveways, patios, and pool decks throughout the area.
Article details:
Share:
Continue learning: